How to create and deploy documentation page using nuxt.js and Stormkit under 5 minutes
Sep 23, 2022
This post will show you how to create a content page in under 5 minutes.
Go to https://github.com/Atinux/content-wind and click on Use Template button on right side
Login to Stormkit -> click Create New Application and import the repository that you copied to your Github account
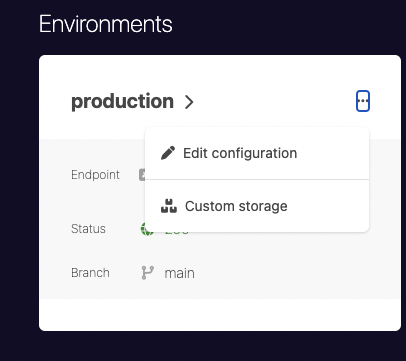
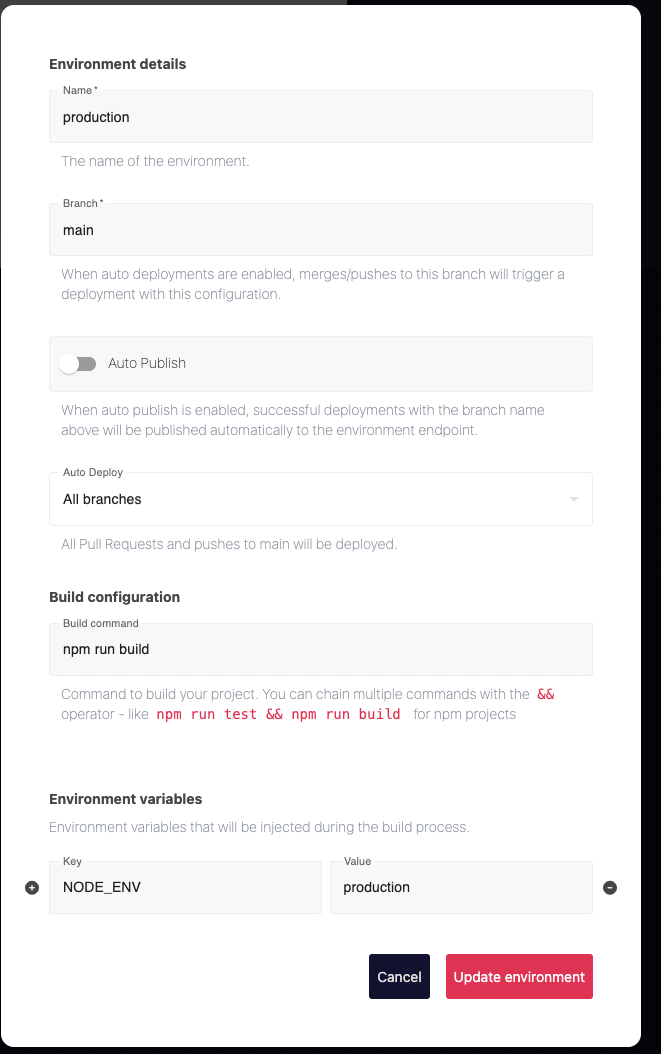
Go to your app's environment configuration on Stormkit

At this stage Stormkit knows that you are working with nuxt.js so some of the configuration is configured for you. Content-wind uses npm run build for building (checkout readme) so put npm run build as build configuration.

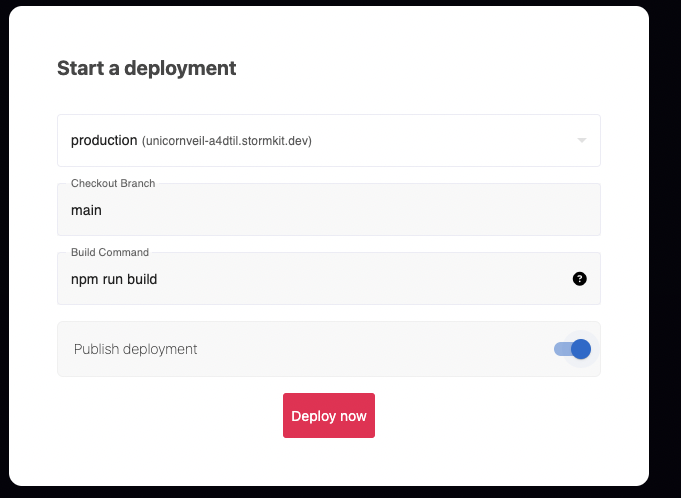
Click on Deploy Now and enable publish deployment option, by enabling publish we are making the result of deployment accessible to the internet. If your page is not ready to be released you can disable this option.

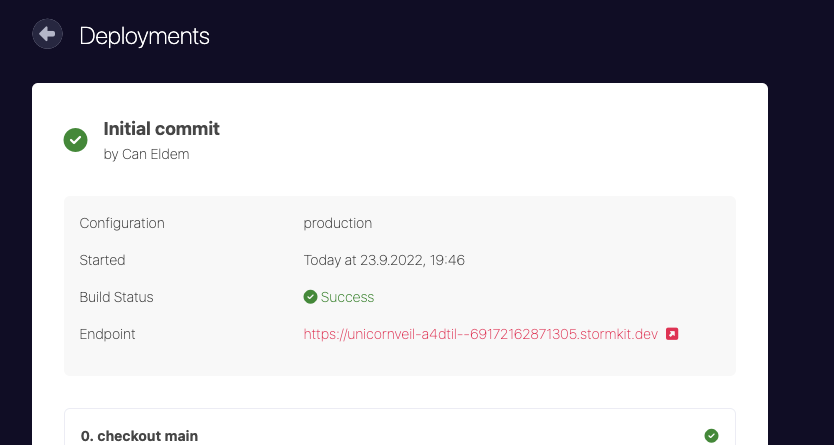
Once the deployment is done you should be able to see the link and there is the first version of your content page deployed and online already

Now that the deployment pipeline is configured, let's add a new page to our content site.
First we need to setup our development environment with following commands
git clone  <your_content_repo>  && cd your_content_repo
npm i && npm run dev
Now that the development server is working we will make our changes, we could start adding and updating pages under content folders. Those are markdown folders, the development server will pick up your changes automatically so that you can see how it will look like. However, if you don’t want to run development server you could also push your changes and create pr, Stormkit will automatically build that branch and leave a link below for you to test your changes.
gco -B add/api-page && git add . && git commit -m “Adding api docs”

Once pull request is merged your changes will be visible in the main url if you enabled auto publish.