
How to deploy to BunnyCDN
Apr 01, 2022
We're happy to announce BunnyCDN integration on Stormkit. This feature allows Stormkit users to deploy their applications to BunnyCDN Storage Zones and use them as a hosting service for static applications.
Benefits
Stormkit specializes in providing an optimal developer experience to build and preview application whereas BunnyCDN is a lightning fast CDN with features such as DDoS protection and image optimization. This integration allows users to benefit from both worlds and have a powerful developer experience while keeping the bandwidth costs lower compared to other services.
Steps
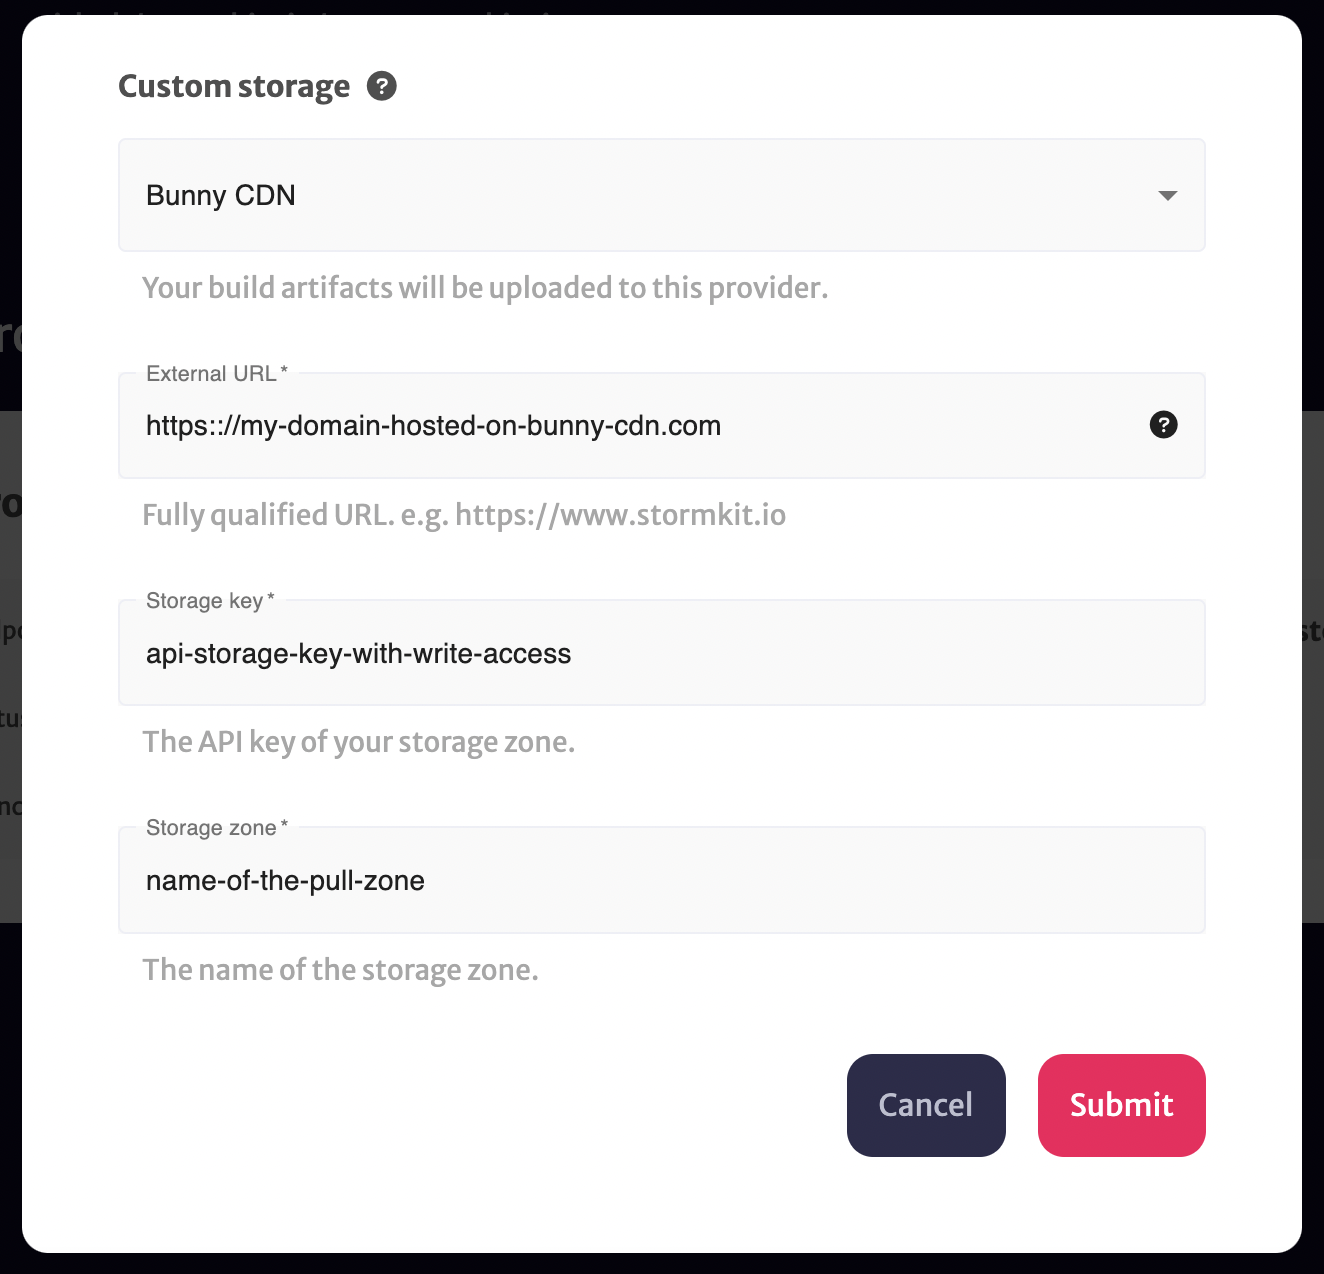
- On BunnyCDN create a Storage Zone and obtain the API key - make sure to take the one with write access
- On BunnyCDN create a pull zone, connect it to the Storage Zone and obtain the endpoint
- On Stormkit visit your application
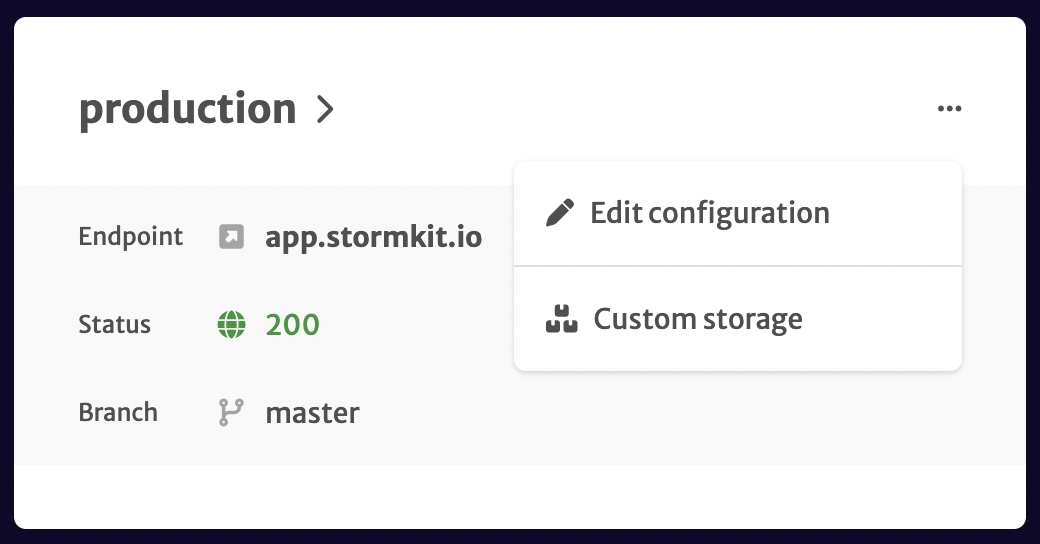
- Click on ... next to the environment you'd like to connect - each environment needs it's own pull zone
- Click on Custom Storage from the dropdown
- Fill the form and click Submit
Deploy your application
Anytime you will deploy your application and have the publish feature turned on, your application will be deployed to BunnyCDN. Please keep in mind that as of today, publishing existing deployments will not update the BunnyCDN storage. This feature will be added soon.
Working with larger teams
If your team consists of more developers, it is advised to create an environment and a storage/pull zone for each developer in the team. Since each deployment will overwrite existing files in the storage, this will allow developers preview their changes directly on BunnyCDN without affecting others deployments. Here's an example:
$ git co -b my-test-branch
# make some changes
$ git add . && git commit -m "chore: update files" && git push -u origin HEAD
Finally deploy your application using one of the following options:
1. API
# You can obtain the deployment trigger from your Application's Settings page.

curl -XPOST https://api.stormkit.io/hooks/app/:app-id/deploy/:token/:environment-id \
   -H 'Content-Type: application/json'
   -d '{"publish": true|false, "branch": ":branch-name"}'
As an idea, you can also add this is a git hook to deploy whenever you push to a specific branch.
2. Merge request / Pull request
Create a merge/pull request on your provider's platform and type the following comment:
@stormkit-io deploy --publish
3. From the UI
- Go to your Application
- Click on Deploy Now
- Choose your Environment
- Type your Branch
- Make sure to have the Publish toggle turned on
That's it! Hope you enjoyed it 🙏🏻
© 2024 Stormkit, Inc.